Overview of the various components of the device
The BadgeR+ Device
Let’s first get familiar with the BadgeR+ Wearable Duress Button and its components. Here is an overview snapshot of the device:
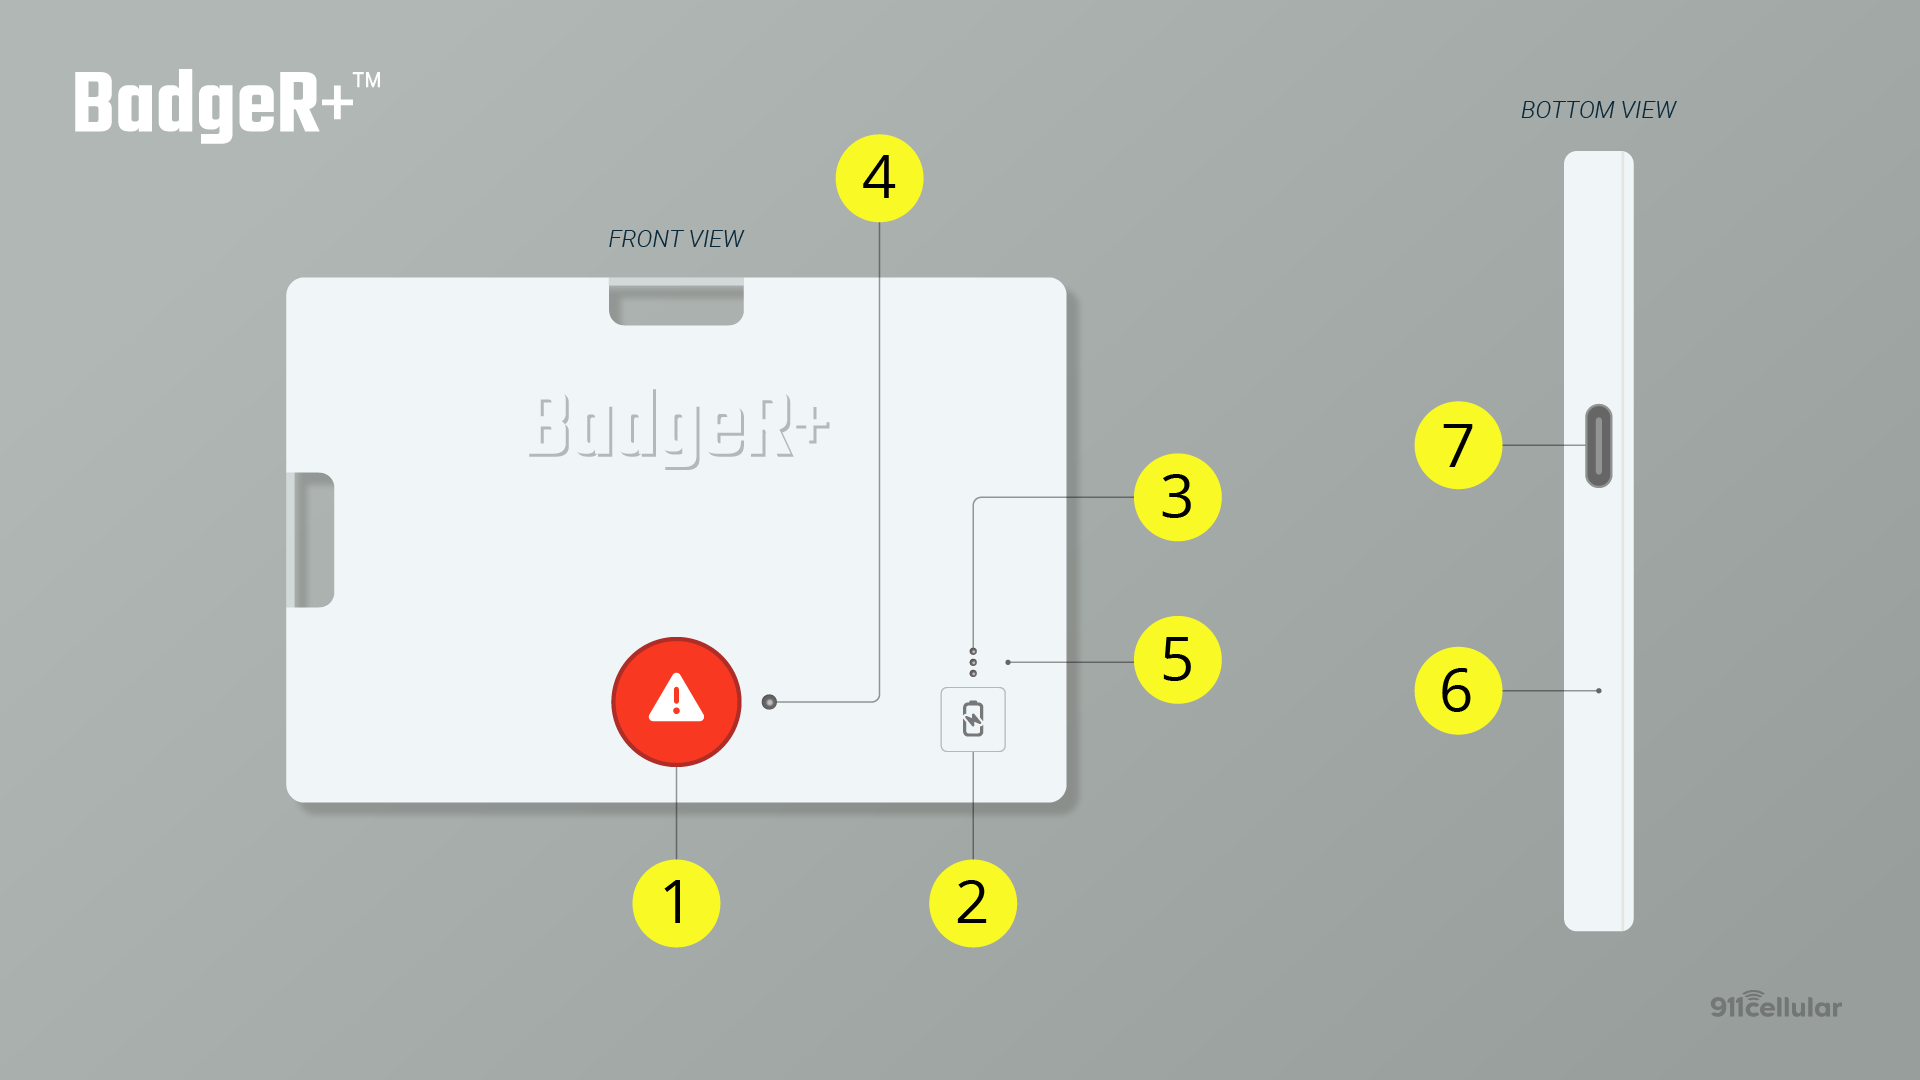
Now let’s dive into each specific component of the device:
(1) Alert Button
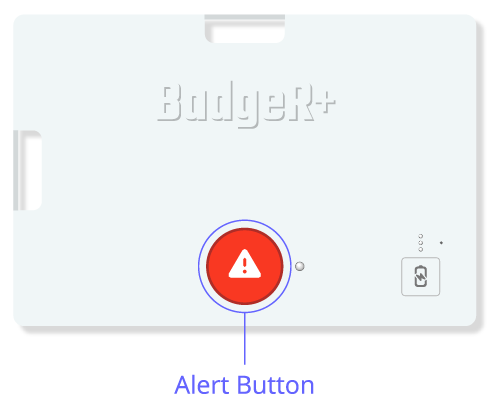
End users will activate the Alert Button when they need assistance. By default, the BadgeR+ Alert Button can be activated by:
Single click activation
Double click activation
Press and hold activation
Visit the following URL to specifically configure which of these activation methods will be usable by your organization’s end users:
https://portal.publicsafetycloud.net/manage-settings/wifipanic-configuration
(2) Battery Button
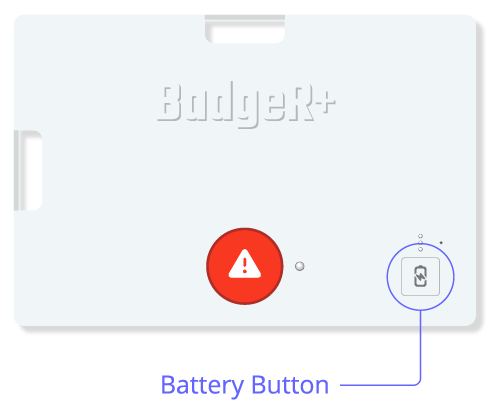
The Battery Button performs multiple functions. Pressing and releasing the Battery Button will show the current charge remaining on the Battery Indicator Lights and also perform a connection test. The current charge remaining will display on the Battery Indicator Lights. The result of the connection test will display on the Status Indicator Light. See the below sections (3) Battery Indicator Lights and (4) Status Indicator Light to learn what the specific feedback indicates.
Pressing and holding the Battery Button for 6 (six) seconds will initiate Pairing Mode. You’ll see the Status Indicator Light (to the right of the Alert Button) begin blinking blue to confirm that Pairing Mode has been initiated. While in Pairing Mode, you can connect your BadgeR+ to the appropriate Wi-Fi network. View the Configuration section for full instructions on how to connect a BadgeR+ to a Wi-Fi network when in Pairing Mode and to learn how to confirm proper configuration.
(3) Battery Indicator Lights
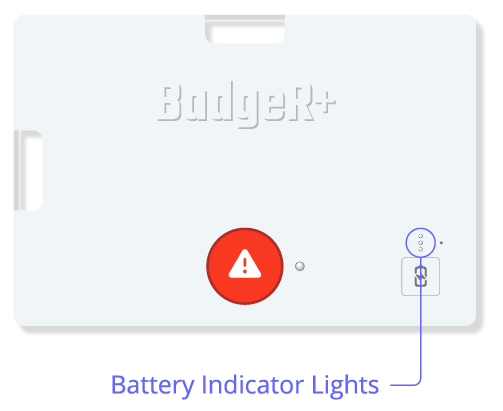
The Battery Indicator Lights will display how much charge remains on your BadgeR+ device after the Battery Button is pressed.
If all 3 (three) lights are on...
Your BadgeR+ has between 75% and 100% charge remaining
If the 2 (two) bottom lights are on...
Your BadgeR+ has between 50% and 74% charge remaining
If the 1 (one) bottom light is on...
Your BadgeR+ has between 15% and 49% charge remaining
If the 1 (one) bottom light is flashing...
Your BadgeR+ has less than 15% charge remaining and should be charged immediately
If no lights are on or flashing...
Your BadgeR+ has no charge remaining and should be charged immediately
While a BadgeR+ is being charged, it will also display feedback on the Battery Indicator Lights (after the Battery Button is pressed) to indicate how much charge is remaining:
If all 3 (three) Battery Indicator Lights are cycling on and off during charging...
Your BadgeR+ has less than 50% charge remaining and is actively charging
If the top 2 (two) Battery Indicator Lights are cycling on and off during charging, and the bottom 1 (one) Battery Indicator Light is solid...
Your BadgeR+ has between 50% and 74% charge remaining and is actively charging
If the top 1 (one) Battery Indicator Light is cycling on and off during charging, and the bottom 2 (two) Battery Indicator Lights are solid...
Your BadgeR+ has between 75% and 99% charge remaining and is actively charging
If all 3 (three) Battery Indicator Lights are solid during charging...
Your BadgeR+ is 100% fully charged
(4) Status Indicator Light
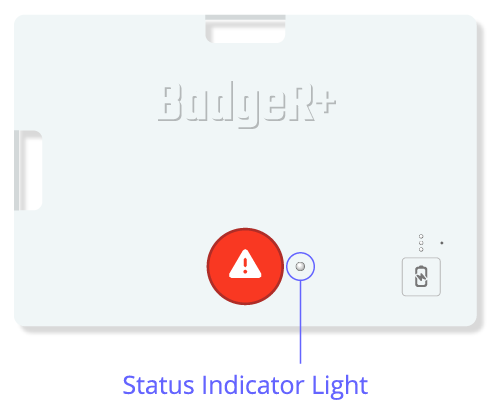
The Status Indicator Light will display the connection status of your BadgeR+ device after the Battery Button is pressed.
When configured properly, the Status Indicator Light on a BadgeR+ will blink green 4 (four) times after pressing the Battery Button (may take several seconds).
If you have already configured a BadgeR+ and the Status Indicator Light does NOT blink green 4 (four) times after pressing the Battery Button, refer to the Troubleshooting section.
(5) Microphone Hole
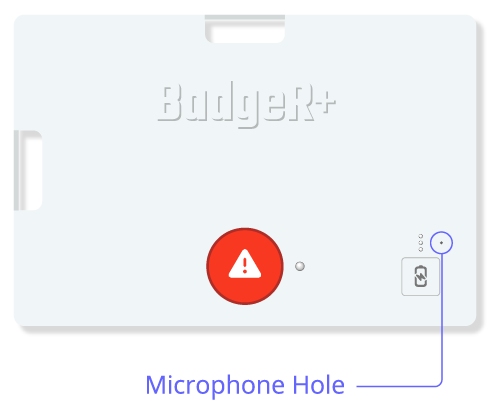
The Microphone Hole is a small cutout in the case that allows the microphone to transmit audio. Note that audio transmission will only occur after the Alert Button is activated AND if this feature is enabled.
(6) Reset Button
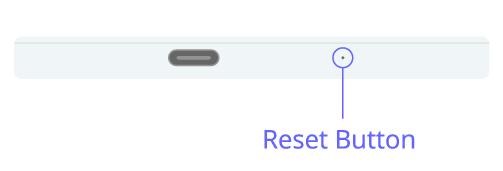
In case of malfunction, you may reset a BadgeR+ device to return it to its default (and unconfigured) state. When this is done, the unconfigured device MUST be reconfigured (connected to a Wi-Fi network) before it can send alerts again.
Do NOT reset a BadgeR+ device unless you are a system administrator and you are confident the device is malfunctioning.
To reset a BadgeR+ device:
1. Press and hold the Battery Button
2. While holding the Battery Button, press the Reset Button (you may need a paperclip or other small tool to insert into the hole in the device’s casing)
3. Release the Reset Button, but continue holding the Battery Button for 5 (five) seconds.
When done correctly, this will reset the BadgeR+ device to an unconfigured state. The reset will be acknowledged when the device goes through the unconfigured sequence:
The device will vibrate once. The Status Indicator Light will cycle through RGB colors within a 5 (five) second timeframe (first red, then green, then blue, then white). Simultaneously, the Battery Indicator Lights will light up one at a time (first bottom, then middle, then top). Then the Battery Indicator Lights will display the current remaining charge (or charging status).
(7) USB-C Charging Port
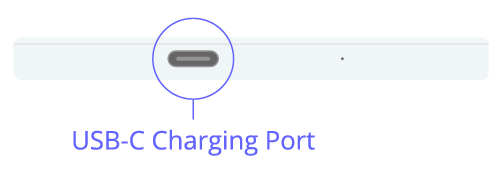
Each BadgeR+ device comes with a USB-C charger cable (may be packaged in a separate box). To charge a BadgeR+, plug one end of the included USB-C charging cable into your BadgeR+ USB-C charging port (located on the bottom of the device), and the other end into a power source.
